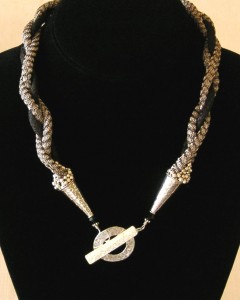
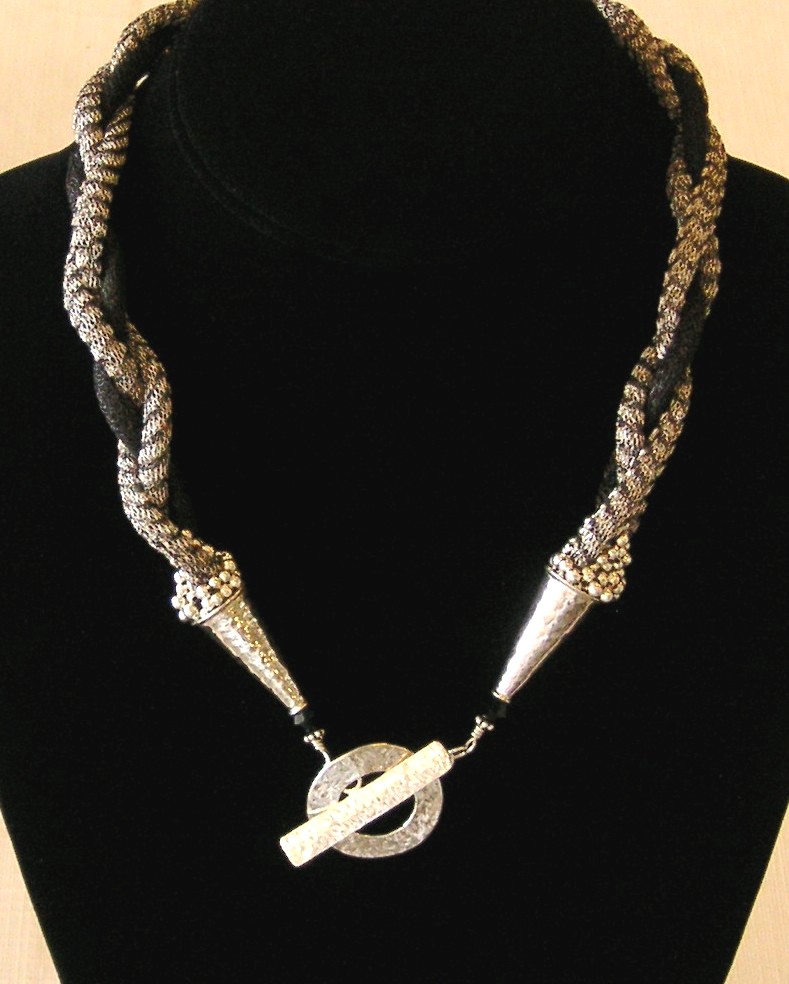
 This necklace is so versitile- you can wear it with jeans and a while blouse or with your favorite little black dress for a night on the town!
By Norma Melton
● Basic wire wrapping and beading skills required ●
Note: Necklace length will vary depending upon size of clasp, findings, and stretched length of WireKnitZ®.
Materials
- 3 – 16 inch lengths of #2000 Series WireKnitZ® – colors of choice
- Finished necklace materials: 1 – 16” #2001 Black and 2-16” #2003 Black & Silver Stripe
- Tutorial colors: 16” of #2001 Black, #2007 Gunmetal, #2008 Champagne
- 2 – Large cone ends approx. 25 x 13 x 13 mm
- 1 – 28 – 34 mm toggle clasp
- 2 – 5 or 6 mm Bicone crystals
- 60 (approx) 2.5 & 3.0 mm beads of your choice
- 2 – 5 inch pieces of 20 or 22 gauge wire
- 2 – Jump rings
- 2 – Spacers
- Braided bead thread to secure beads to WireKnitZ®
Tools
- Scissors for cutting WireKnitZ®
- Measuring tape
- Awl
- Clamp or masking tape
- Round-nose pliers
- 2 – Chain-nose pliers
- 1 – Sewing or beading needle that will easily pass through your beads
- Clear drying glue of your choice for securing knots in thread
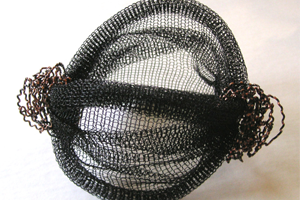
1. Begin with three equal lengths of WireKnitZ®. Grasp each end with both hands and stretch in length until the knit is about 1 1/2” inches wide.
2. Softly roll each length individually between the palms of your hands, making a rope-like strand.
3. Align all three strands at one end and tightly twist about ¾-inch to 1-inch of the end.
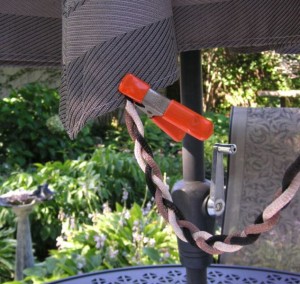
4. Clamp the twisted end to a secure item (here we’ve used a patio umbrella) and braid.
Twist the opposite ends when your braid is approximately 17 inches long. To determine the length of your braid, subtract all of the finishing components from the finished length of 18 inches. e.g., cone ends●, bicone crystals, spacers, wire wraps, jump rings, and clasp.
● The twisted braid ends will fit inside of the cones – only subtract the part of the cone that is not accommodating the braid to determine length.
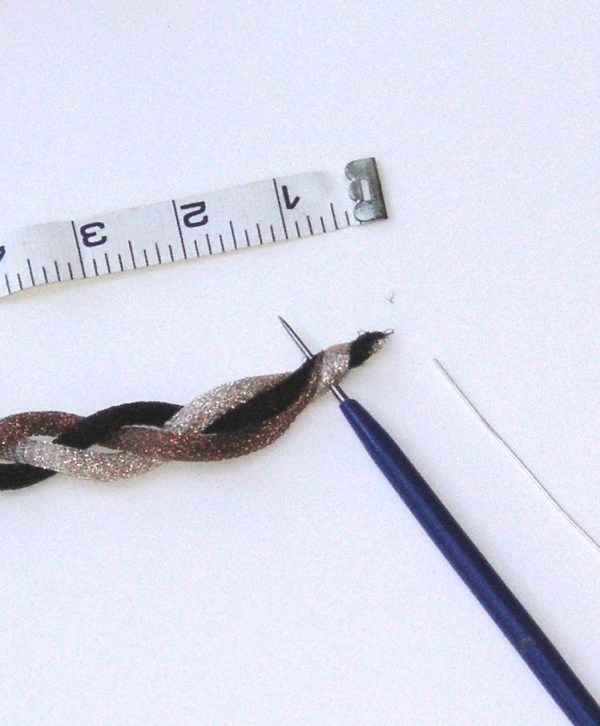
5. Gently push the awl through the center of the twisted end.
6. Feed 1 ¼-inches of the wire through the hole made by the awl. Wrap the short wire once around the twisted knit. Bend the long wire 90° toward the tip of the twist. Finish wrapping the short end around the twisted knit and over the long wire. Bend the end of the short wire approx.1/8 inch from the end using your chain-nose pliers and bury the wire end inside the twisted knit, locking the wire in place.
Repeat #5 and #6 at the opposite end.
Note: The cone end may appear too large…don’t worry – the beads will fill it in.
7. At one end feed the cone end, Bicone crystal, and spacer on the long wire, and proceed to make a snug wire wrapped loop against the spacer bead. Attach one side of the clasp with a jump ring.
Repeat at the opposite end.
8. Near one cone end, inconspicuously pass your threaded needle through the inner braid without pulling the thread through, and make a double overhand knot. Do not cinch the knit by pulling too tight.
Repeat knot and glue. Stitch your beads in and around the cone end, filling in the gaps where the braid meets the cone.
Repeat at the opposite end.
Be well and stay wired!
www.WireKnitZ.com





No comments yet.